Single-colour pad printing is a fairly forgiving process. You set up one cliché, one ink cup, one pad, and you print. Multi-colour pad printing is a different story entirely. The moment you introduce a second colour, let alone a third or fourth, you're managing registration between each strike, ink compatibility between layers, and the risk that each additional pass introduces a new way for the final print to go wrong.
For plastic moulding factories and plastic painting service providers who want to offer multi-colour printed components, understanding where the process gets complicated is the starting point for getting it right.
The Core Challenge in Multi-Colour Pad Printing
In single-colour pad printing, the main variable is consistent ink pickup and transfer from the cliché to the part.
In multi-colour work, you have all of those variables operating independently for each colour, and you need the output of each pass to land precisely relative to everything else.
Any variation in part positioning between passes, any inconsistency in the fixture, any change in pad compression (all of it shows up as registration error).
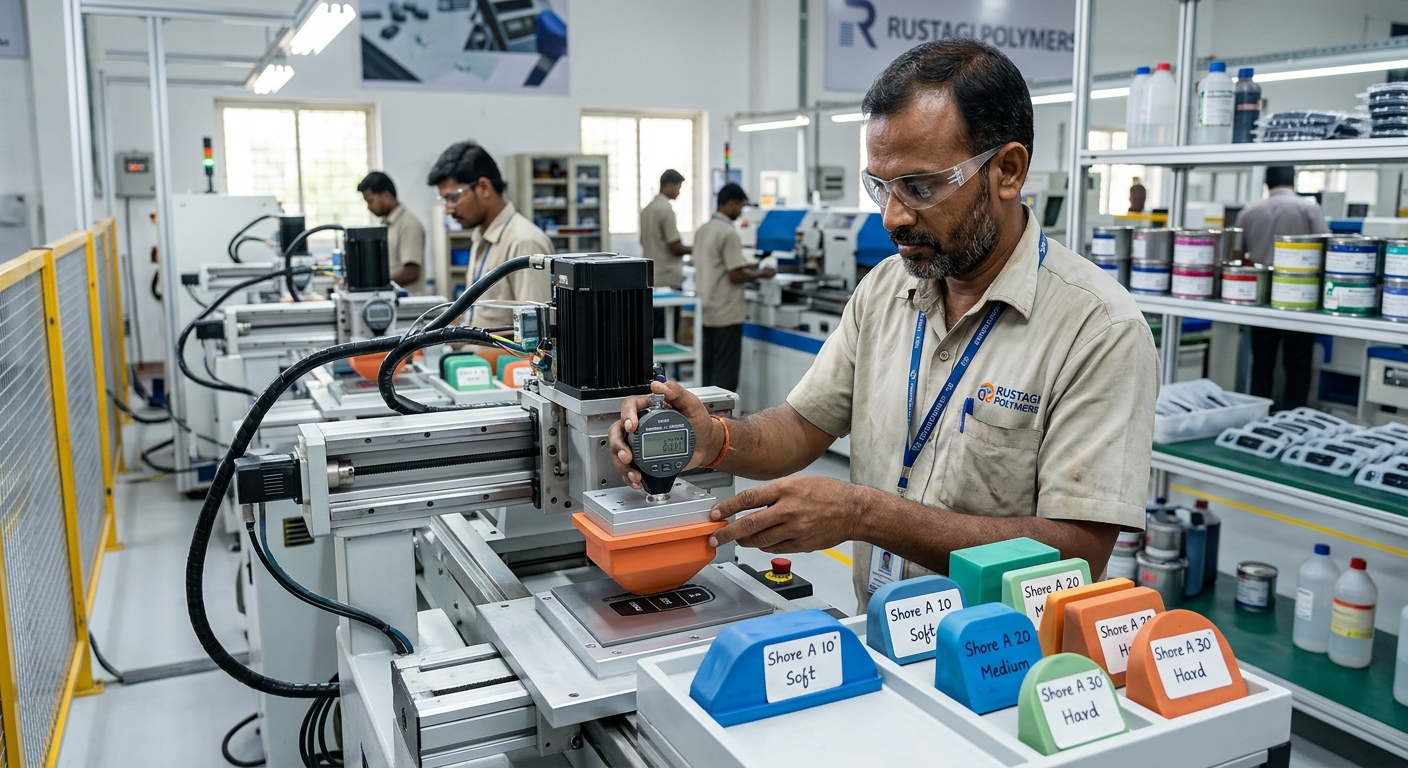
On fine detail work (small logos, thin text, tight colour boundaries) even a 0.1mm shift between two colours is visible.
On coarser graphics, 0.2–0.3mm of drift might be acceptable. The tolerance requirement has to drive how tightly you control every variable in the process.
The Foundation: Fixture Accuracy
If the part moves between colour passes, the print drifts. It's that simple. The fixture has to locate the part in exactly the same position for every pass, every cycle, with enough repeatability that registration error stays within the tolerance the design requires.
For most multi-colour work on injection moulded plastic parts, tool location fixtures using existing moulded features like locating pins, bosses, or datums that are already in the part geometry give better consistency than simple nest fixtures.
Parts from a plastic moulding factory with good dimensional consistency will register more reliably than parts with significant shot-to-shot variation. For a detailed breakdown of what dimensional variation looks like at the molding stage, injection molding tolerances and what engineers can expect during manufacturing covers the numbers that matter before a single drop of ink is laid down."
This is one of the reasons that multi-colour pad printing works best when the printing vendor has visibility into the moulding quality.
Parts with significant flash, sink, or warp will register less consistently, and that shows in the final print.
Real Example: Automotive Interior Switch Cluster
Challenge: A switch cluster with four-colour printed symbols was showing visible registration drift on approximately 8% of parts.
Solution: Root cause was a nest fixture that was located off the outer edge of the part, which had ±0.15mm shot-to-shot variation from the moulding process.
Result: Switching to a fixture that located off internal boss geometry reduced that variation to ±0.04mm. Registration failures dropped to under 0.5%.
This kind of fixture-driven fix is typical in automotive interior work, where surface finishing requirements for automotive parts set the registration and consistency bar that the entire printing process has to be built around.
Pad Sequence and Why the Order Matters
The order you print colours in affects sharpness at colour boundaries and the risk of ink contamination between passes.
Generally, lighter colours and backgrounds go first, with darker or detail colours on top. Printing a fine dark line over a light background gives a sharper edge definition than trying to print a light colour over a darker one, because the darker base tends to show through.
The pad itself picks up a small amount of residual ink from the substrate on every pass. If you're printing a second colour immediately over a wet first colour, cross-contamination between the two is a real risk.
Ink Systems for Multi-Colour Work on Plastic
Two-component PU inks are the workhorse for multi-colour pad printing on plastic parts that need to be durable. They cure through a chemical cross-linking reaction rather than just solvent evaporation, which means better adhesion to the substrate and better resistance to the subsequent passes in a multi-colour sequence.
UV-curable inks are used where fast cure between passes is critical. Ink compatibility between the different colours in a multi-colour sequence has to be verified, not assumed. Different colours often use slightly different bases, and what works for a single-colour application doesn't automatically transfer to a multi-colour stack.
Curing Between Colours: How Much Is Enough?
Printing a second colour onto a wet first colour risks smearing, bleeding at the boundary, and ink pickup contaminating the pad.
Full cure between passes solves this but slows production significantly. Partial cure (enough that the first ink won't smear or contaminate but not a complete cross-link) is the practical middle ground for most production environments.
What 'enough cure' means in practice depends on the ink system such as the following;
- Substrate
- Ambient temperature
- Humidity
The film thickness of the first colour. This has to be established through process validation, not guessed. Getting it wrong costs you a batch.
What Registration Tolerances Are Actually Achievable
On a well-set-up multi-colour pad printing line with good fixture design and consistent parts, ±0.1–0.15mm registration is achievable for most standard geometries.
On simple flat or gently curved surfaces with good part consistency, ±0.05mm is achievable with careful process control.
On heavily contoured surfaces or parts with significant dimensional variation, you realistically need to design the graphics with wider colour boundaries to accommodate the registration tolerance.
Conclusion
Multi-colour pad printing is all about control and consistency. Unlike single-colour printing, success depends heavily on accurate fixtures, stable part geometry, correct colour sequence, and proper curing between passes. Even small shifts in positioning or timing can show up as visible registration errors in the final print.
For plastic moulding factories and manufacturers looking for reliable multi-colour pad printing on plastic parts, Rustagi Polymers provides pad printing alongside plastic painting services and vacuum metallizing for injection molded components across automotive, consumer, and industrial applications.
Frequently Asked Questions
- What challenges arise when pad printing multiple colours on plastic parts?
Registration consistency between passes, ink contamination if colours are printed wet-on-wet, and the compounding effect of each additional colour adding another source of variation to the final result.
- How is colour registration maintained across multiple pad strikes?
Consistent fixture design that locates off part geometry, not just the outer shape. Followed by repeatable part placement every cycle and controlled pad compression and consistent ink film thickness.
- What role does fixture accuracy play in multi-colour pad printing?
Fixture accuracy is the foundation of registration. If the part moves between passes, the print drifts. Tooled fixtures locating off moulded features give better consistency than nest fixtures relying on outer part shape.
- How does pad sequence affect colour sharpness and overlap?
Lighter backgrounds go first, detail colours last. Printing dark over light gives a sharper edge definition. Sequence also affects cross-contamination risk if insufficient cure time is allowed between passes.
- What ink systems work best for multi-colour printing on plastics?
Two-component PU inks for durable applications. UV-curable inks where fast inter-colour cure is needed. Ink compatibility between colours in the sequence must be validated, not assumed.
- How does curing between colours affect the final result?
Insufficient cure causes smearing and colour contamination. Full cure between every pass slows production. Validated partial cure, enough to prevent smear without full cross-linking is the standard production approach.
- What tolerances are achievable with multi-colour pad printing?
- ±0.1–0.15mm on standard geometries with good fixture and part consistency.
- ±0.05mm on flat or simple surfaces with tight process control.
Graphic design should be briefed on tolerances at the start, not after artwork approval.